How to install MCCB shunt release?
The shunt release device, an internal accessory of MCCB, opens the mechanism in response to an externally applied voltage signal. It allows the electrician to manually disconnect the circuit by switching the power on and off with an electric button.
We provide the shunt release with a different voltage range of 24VDC, 110VAC, and 220VAC.
Here we will tell how to install the shunt release on MCCB.
Materials:
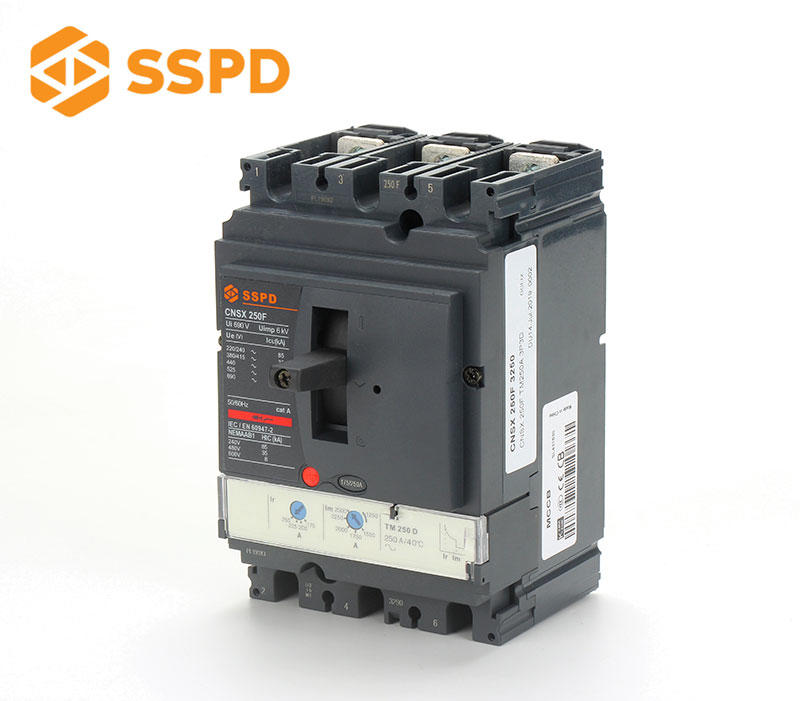
CNSX100F 80A 3P * 1pc
Shunt release 220V *1pc
Screwdriver * 1pc
Plier * 1pc

Installation step:
1.Firstly, unscrew and remove the cover.
2.Put the shunt release into the MCCB body, where the shunt release shall be installed. For other extended components like under voltage release, auxiliary contacts and others, please follow the installation diagram below as well.

3.Push the handle up to make sure the shunt release can be fixed in the fillister. And then release the handle to the reset position.
4.Use pliers to open the top outlet of the cover and make sure that the wire from the shunt release comes through the top. It is used to connect the circuit. If there are no wires on the shunt release, remember to connect the wires first.

5.Install the cover and screw it up.
Then the MCCB can be cut off successfully by the shunt release.
This is the installation procedure of MX shunt release.
Don't know how to install other MCCB accessories like auxiliary contacts, extended handle, inter-phase barrier? Follow us on youtube.com or visit our website for installation videos.
If there's any problem when installing these extended components, feel free to contact us for technical support.

.png)

.jpg)
